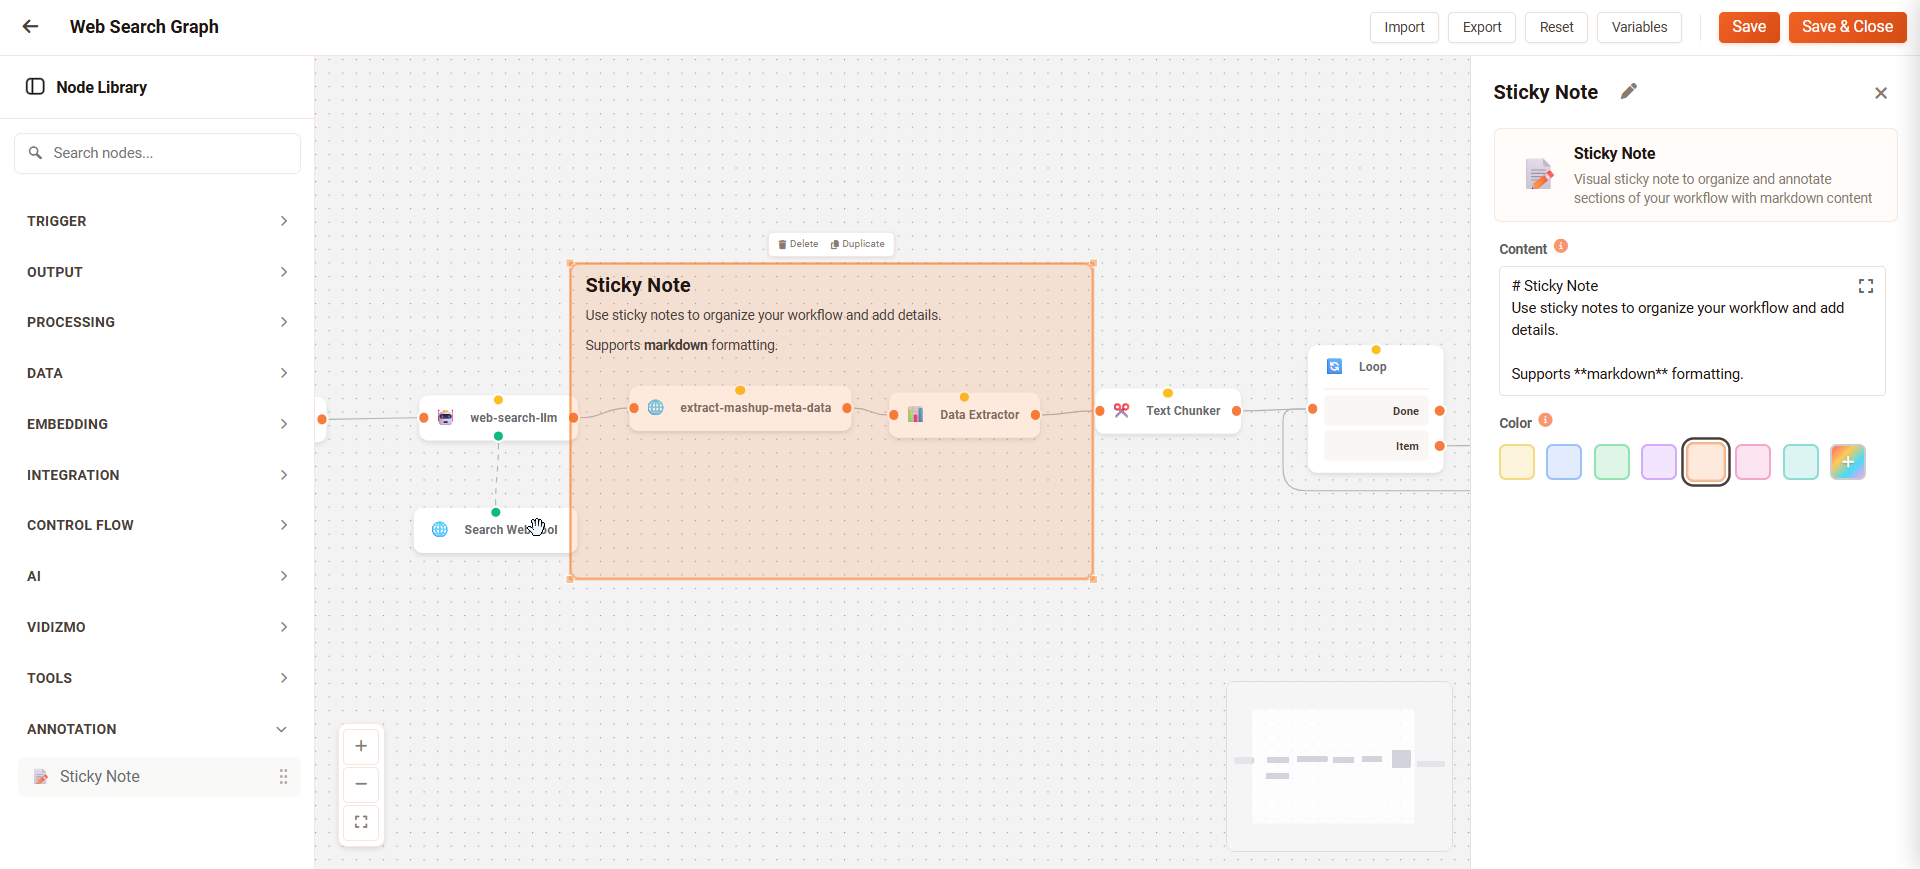
Sticky Note
Sticky Notes allow you to annotate and document sections of your workflow in the Workflow Designer. Use Sticky Notes to add comments, explain workflow logic, and help other users understand how your workflow operates.
Sticky Notes are visual elements only and do not affect workflow execution.
Add a Sticky Note
To add a Sticky Note to your workflow:
-
Go to Portal Settings > Chatbot > Workflow.
-
Select a workflow to open the Workflow Designer.
-
In the Node Library, locate the Sticky Note element.
-
Drag the Sticky Note onto the canvas.
Edit a Sticky Note
To edit the content of a Sticky Note:
-
Select the Sticky Note on the canvas to open the Configuration Panel.
-
In the Content editor, enter your content. You can use Markdown formatting (see Writing in Markdown).
-
Click the (x) close button on the Configuration Panel to finish editing.
Change the Color
Select a background color for the Sticky Note. Choose a color to organize and visually group related workflow sections.
To change the Sticky Note color:
-
Select the Sticky Note on the canvas.
-
In the Configuration Panel, locate the Color option.
-
Select a preset color:
- Yellow
- Blue
- Green
- Pink
- Purple
- Orange
-
(Optional) To use a custom color, click the color palette picker and select any color from the palette.
TIP: Use consistent colors across your workflows to indicate different types of notes. For example, use yellow for general documentation, pink for warnings, and green for completed sections.
Sticky Note Positioning
You can position Sticky Notes to organize your workflow canvas:
-
Move: Click and drag the Sticky Note to any location on the canvas.
-
Resize: Hover over the edge of the Sticky Note and drag to resize.
-
Layer Behind Nodes: Drag Sticky Notes behind workflow nodes to visually group related nodes together.
Use Sticky Notes as section headers by placing larger notes behind groups of related nodes.
Writing In Markdown
Sticky Notes support Markdown formatting for structured content:
**Bold text** for emphasis

*Italic text* for subtle emphasis

# Heading 1
## Heading 2
### Heading 3

[Link text](https://example.com)

Unordered list:
* Item one
* Item two

Ordered list:
1. First item
2. Second item

Code: `${state.data.user_query}`

> Blockquote for important notes
Make Images Full Width
To add images to a Sticky Note, use Markdown image syntax:

Place the image on its own line to display it at full width:
## Workflow Overview

Additional notes below the image.